- Learn Paint Shop Pro by making picture frame
- Tutorial is written for Paint Shop Pro X2 ...
- Start a new image with white background 400 x 200 (ctrl + N)
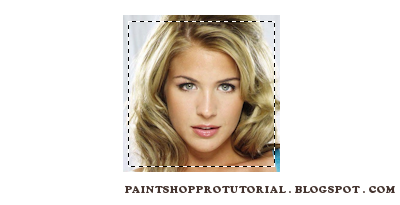
- Insert a picture that you want to make frame and named Picture. Below is the picture I use but you can choose any picture you like
- Create a selection -> at the toolmenu choose Selections -> Load/Save Selections -> Save Selection To Alpha Channel -> named InsideSelection

- Create new layer Cutout1 -> at the toolmenu choose Effects -> 3D Effects -> Cutout vertical_0 horizontal_0 opacity_70 blur_10 shadowcolor_black. Then ctrl + D to deselect
- Right click on the layer Cutout1 -> Duplicate -> rename the new layer to Cutout2. This will make a deeper cutout effect
- Press ctrl + shift + I to invert your current selection
- Here is the tricky part so pay attention. At the layer list, choose the layer Picture -> make sure you're using the tool Selection (press S to activate if not) -> Left click on the red target that I point in the picture below (or the area around it)
- Create new layer named FadeBorder and fill with the gradient above
- Now we will add some shadow to give the picture better feeling, choose the layer Picture -> press S to select the selection tool -> ctrl + A -> left click inside the image -> ctrl + shift + F


