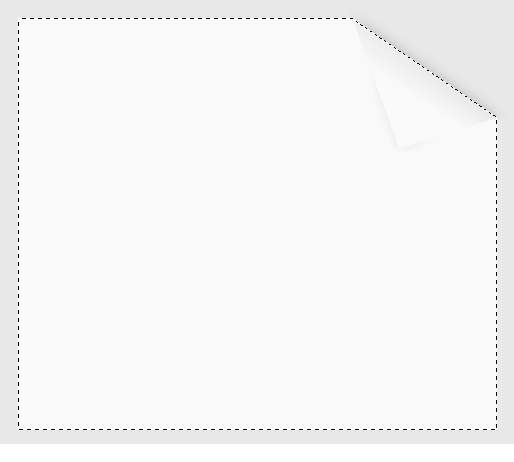
- Learn Paint Shop Pro by making page curl
- Tutorial is written for Paint Shop Pro X2 ...

- Ctrl + N to create an image 500 x 460 (or the size of paper you want to create)
- Press F to choose fill tool -> Fill #e8e8e8 to background layer
- Create new layer named BgPaper -> create selection -> fill with #fafafa
- Ctrl + D -> make a selection like below -> at the top menu choose Selections -> Load/Save Selections -> Save Selection To Alpha Channel -> named PaperCut
- Choose layer BgPaper -> press Delete -> ctrl + D
- ctrl + A -> left click on the picture -> ctrl + shift + F -> at the top menu choose Selections -> Load/Save Selections -> Save Selection To Alpha Channel -> named MainPaperSelection
- ctrl + D -> create new layer named Something -> make a selection like below -> fill with any color
- Ctrl + D -> at the top menu choose Selections -> Load/Save Selections -> Load Selection From Alpha Channel -> load PaperCut
- Create new layer PageCurl and fill with Linear Gradient Background Foreground (fg_#fafafa bg_#eaeaea angel_50 )
- Right click on layer Something and choose delete, we don't need that anymore
- Ctrl + D -> Choose freehand selection feather_30 -> create a selection like below
- Your selection will look like this
- Still on the layer PageCurl -> press Delete two times -> ctrl + D
- At the top menu choose Selections -> Load/Save Selections -> Load Selection From Alpha Channel -> load PageCurlSelection
- Create new layer named DropOut -> At the topmenu choose -> Effects -> Drop Shadow vertical_0 horizontal_0 opacity_30 blur_20 color_black -> change opacity layer DropOut to 83
- Right click on the layer DropOut -> choose Duplicate -> a new layer will appear as Copy of DropOut -> change the name of that layer to DropIn
- Choose layer DropOut -> create selection like below (make sure feather is 0) -> press Delete
- ctrl + D -> choose layer DropIn -> create selection like below -> press Delete
- ctrl + D, until now you have two seprate shadow layer.
- Change opacity layer DropIn to 28 -> right click on the layer -> Duplicate
- Choose either layer and make a selection feather_40
- Your selection will now look like this -> press Delete two times
- ctrl + D -> make a selection on the other side
- At the top menu choose Selections -> Load/Save Selections -> Load Selection From Alpha Channel -> load MainPaperSelection


